It’s a Wrap – Oracle DatabaseWorld at CloudWorld 2023

I’m on my way back from Oracle DatabaseWorld at CloudWorld 2023. It’s been such a great week. I’ve met old friends and made new ones. I love being amongst our customers and helping them use the Oracle Database in the best possible way.

Slides

If you are curious, here are the slide decks from our sessions.

Try Our Hands-On Labs

This year, we had three hands-on labs. Two of them were brand-new and had their premiere:

Plus, we introduced a revamped version of our upgrade lab:

You can run all our labs in Oracle LiveLabs – FOR FREE! All it takes is a browser.

Cool Stuff

A while ago, we introduced ORAdiff. It’s a really cool tool that tells the difference between two releases or patch sets. Use it before you patch or upgrade. It’s completely free – just log on with your Oracle accont.

Thanks

Thanks to my team: Roy, Mike, Rodrigo and Bill. All the content we deliver is a geniune team effort.

Thanks to the organizers. They worked hard in the background, so we enjoy a well-organized conference. Especially thanks to Kay Malcolm and her team for organizing Oracle DatabaseWorld.

Thanks to you – our valued customer – for coming to our conference and engaging with us.

What’s Next

With great pleasure, I can share that we expanded the Oracle CloudWorld Tour. We will be visiting eight cities at the beginning of 2024. Stay tuned!

I hope to see you next year at Oracle CloudWorld, September 9-12 2024.

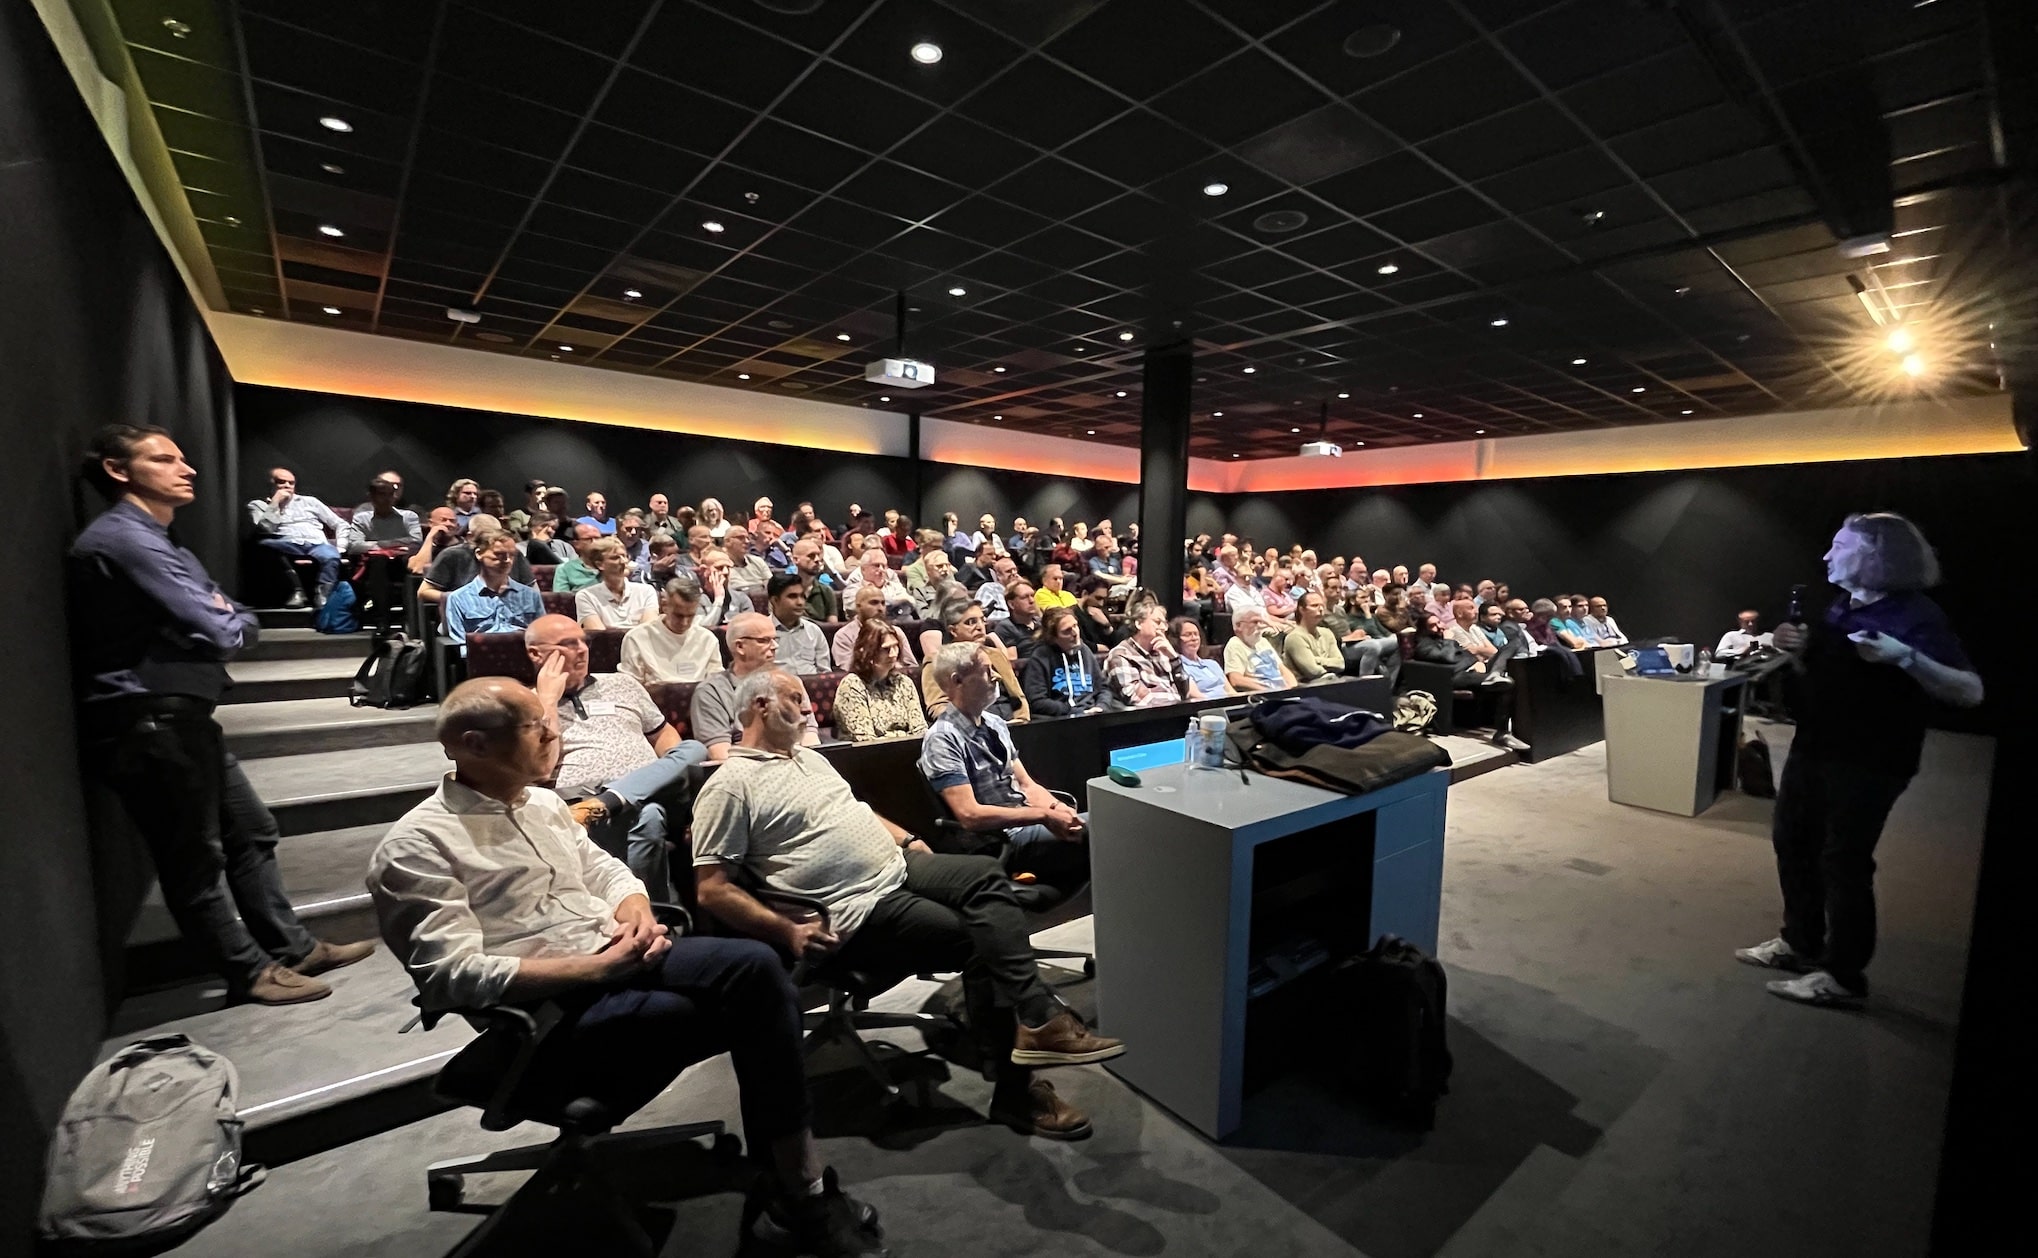
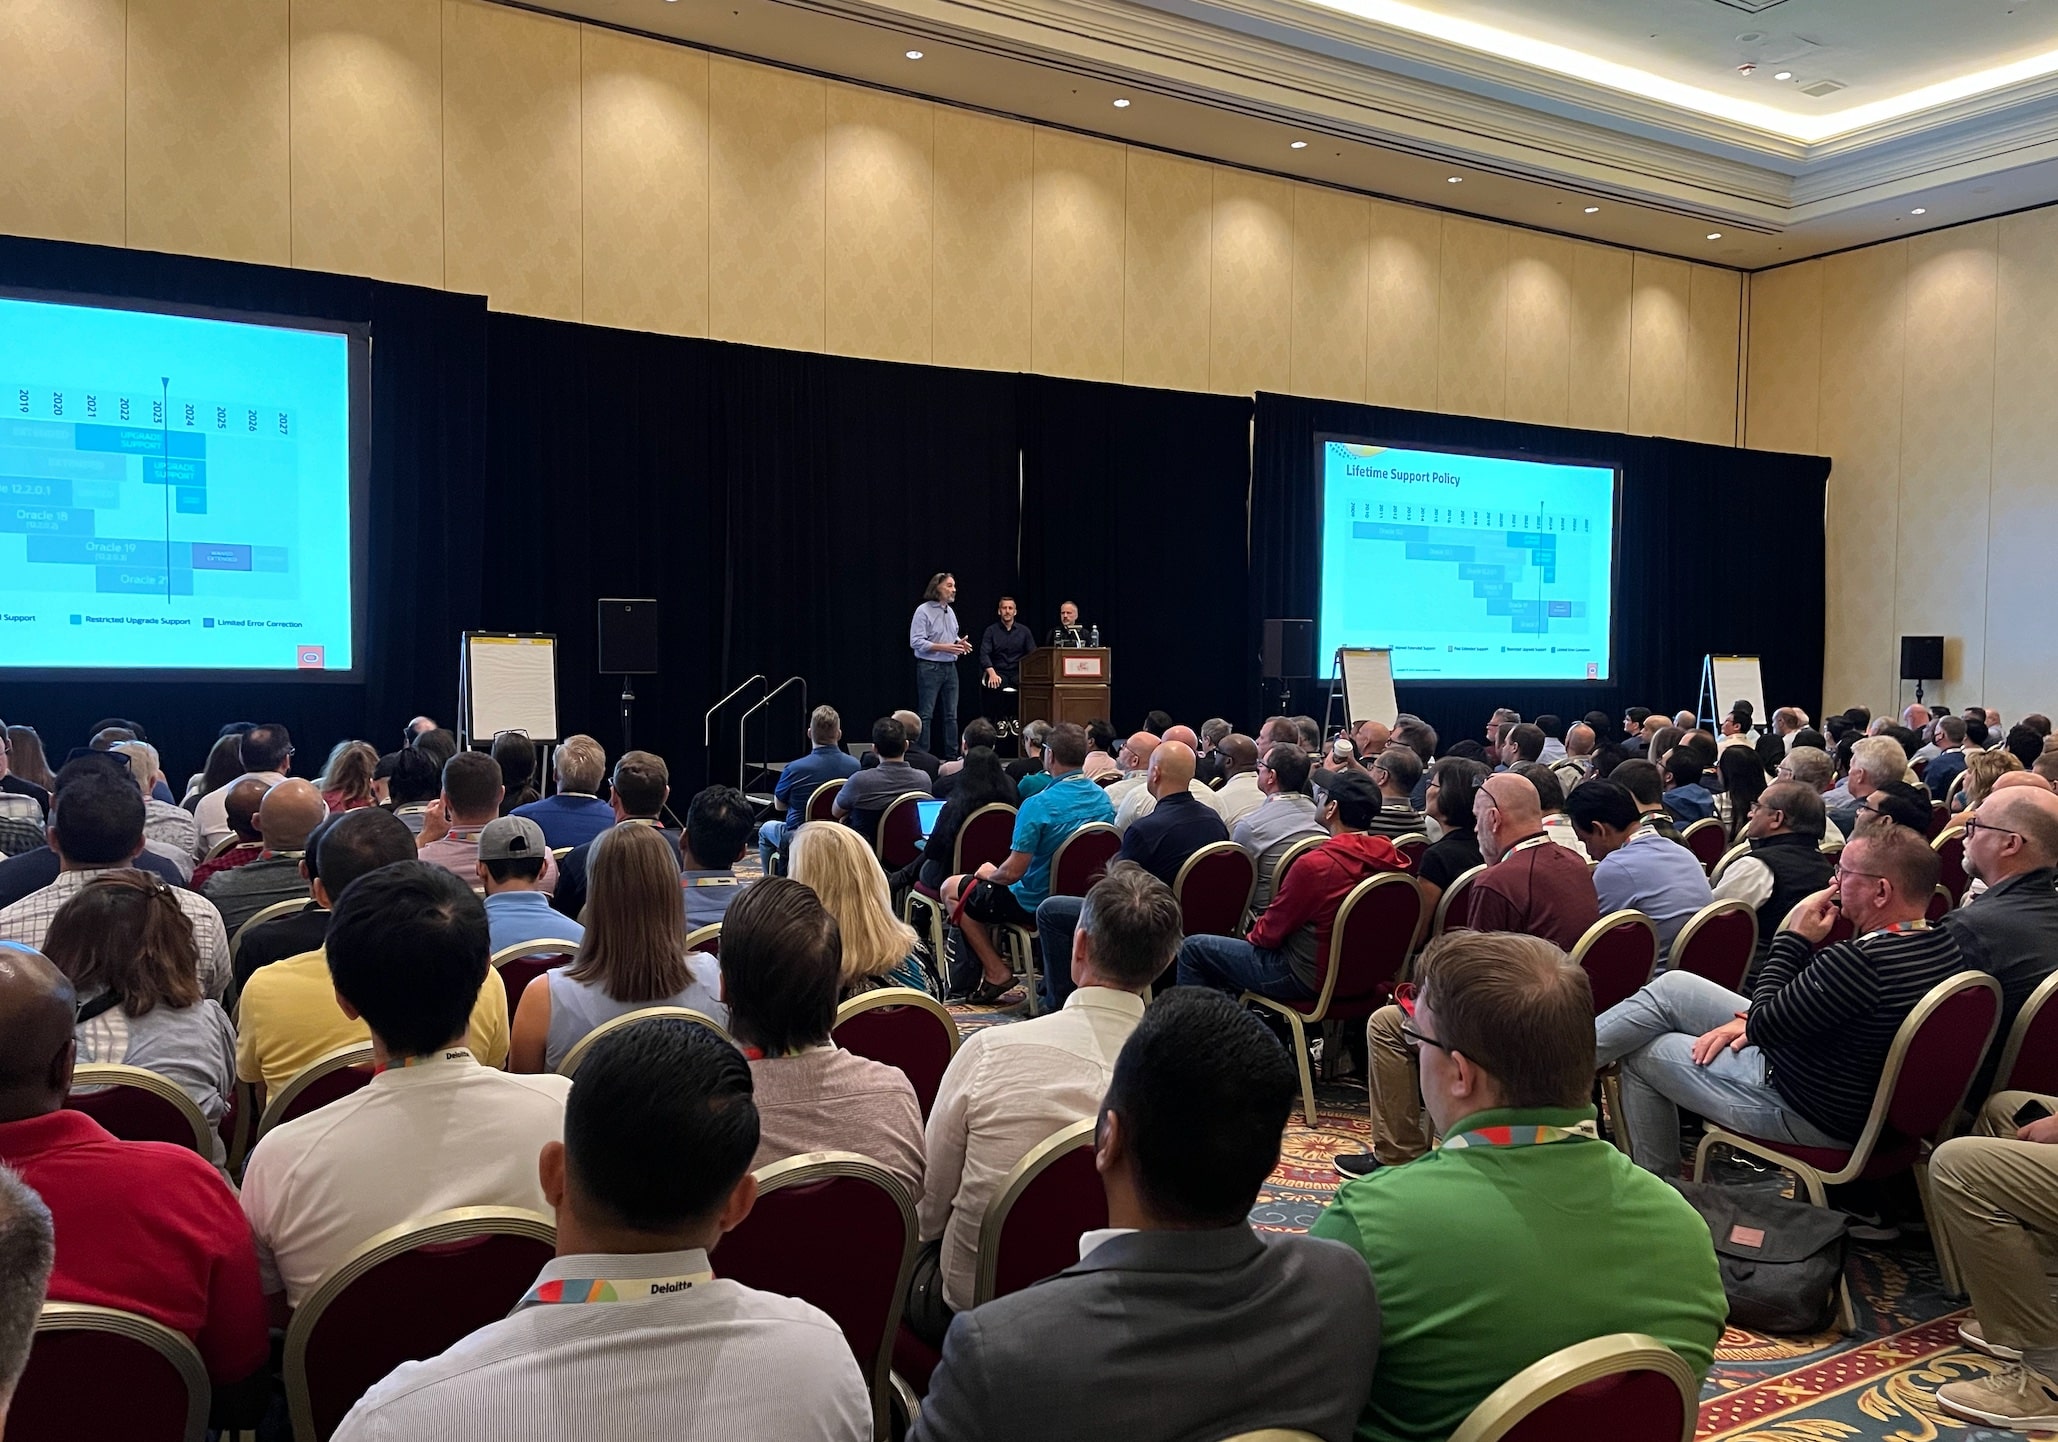
Banners at Oracle DatabaseWorld at CloudWorld The CloudWorld party Oracle Redbull Racing Audience at upgrade talk

Can Data Pump Export to ASM Storage?

The other day, I was helping my boss, Roy, with a benchmark for our session Data Pump New Features and Best Practice at Oracle DatabaseWorld at CloudWorld. I needed to find a database with access to very fast storage, and I decided to use a Base Database Service in OCI.

But the fast storage is on ASM. I never tried exporting with Data Pump to ASM storage. Is it possible?

How to Export to ASM Storage?

First, I create a directory in ASM:

ASMCMD> cd DATA
ASMCMD> mkdir DATA_PUMP

Then, I create a database directory pointing to the ASM directory:

SQL> create directory myasmdir as '+DATA/DATA_PUMP';
SQL> grant read, write to ... ;

And start a Data Pump export:

expdp ... \
   directory=myasmdir \
   dumpfile=exp%L.dmp \
   logfile=exp.log

It fails:

Connected to: Oracle Database 19c EE Extreme Perf Release 19.0.0.0.0 - Production
ORA-39002: invalid operation
ORA-39070: Unable to open the log file.
ORA-29283: invalid file operation: nonexistent file or path [29434]

It turns out that the ASM directory can’t hold the log file. You must store it in a regular file system (see appendix).

I create an additional directory for the log file:

SQL> create directory mylogdir as '/tmp';

Start the Data Pump export, now, redirecting the log file to regular storage:

expdp ... \
   directory=myasmdir \
   dumpfile=exp%L.dmp \
   logfile=mylogdir:exp.log

Appendix

Log File

If you don’t have any access to a regular local file system, you can also start a Data Pump job without writing to a log file:

expdp ... nologfile=y

Data Pump Bundle Patch

When you work with Data Pump in Oracle Database 19c, you should always install the Data Pump bundle patch. In 19.20.0, we have more than 150 Data Pump specific fixes included.

Is It Possible to Migrate SQL Plan Baselines Before You Migrate Data

In a recent migration, a customer had millions of SQL plan baselines. The customer performed a Full Transportable Export/Import, but the export of the SQL plan baselines took a lot of time. I suggested moving the SQL plan baselines the day before the downtime window.

But can you move SQL plan baselines into an empty database; before you move the data? Do SQL plan baselines care about the underlying schema objects the SQL accesses?

SQL Plan Baselines and Underlying Schema Objects

The optimizer matches a SQL statement with a SQL plan baseline using the signature of the SQL (see appendix). Originally, I thought that it was the SQL ID, but I was wrong:

SQL statements are matched to SQL plan baselines using the signature of the SQL statement. A signature is a unique SQL identifier generated from the normalized SQL text (uncased and with whitespaces removed).

SQL Plan Management uses the signature only to match SQLs to SQL plan baselines. There is no reference to the underlying schema objects, which is evident since the same SQL from different schemas share the same signature.

The conclusion is that importing SQL plan baselines into an empty database is safe before you move the data.

Empty Database and Plan Evolution

But there is a catch. You don’t want plan evolution to happen in a database with no data.

Plan evolution is the process that validates whether a plan performs better than existing ones and, if so, marks the plans as accepted. This can have undesired side effects in an empty database.

There are two ways to avoid this:

  • Disable the SPM Evolve Advisor Task:

    BEGIN
       DBMS_SPM.SET_EVOLVE_TASK_PARAMETER(
          task_name => 'SYS_AUTO_SPM_EVOLVE_TASK',
          parameter => 'ALTERNATE_PLAN_BASELINE',
          value => '');
       DBMS_SPM.SET_EVOLVE_TASK_PARAMETER(
          task_name => 'SYS_AUTO_SPM_EVOLVE_TASK',
          parameter => 'ALTERNATE_PLAN_SOURCE',
          value => '');
    END;
    /   
    
  • Don’t allow plans to auto-evolve using the accept_plans parameter:

    BEGIN
       DBMS_SPM.SET_EVOLVE_TASK_PARAMETER(
          task_name => 'SYS_AUTO_SPM_EVOLVE_TASK' ,
          parameter => 'ACCEPT_PLANS',
          value => 'FALSE');
    END;
    /
    

How to Migrate SQL Plan Baselines

DBMS_SPM

The easiest way you can move SQL plan baselines is using DBMS_SPM. You can find a good example of using it in the documentation.

Data Pump

Data Pump exports SQL plan baselines as part of the SQL Management Base (SMB). Data Pump includes the SMB as part of a full export only. To export the SMB only:

expdp ... full=y include=SMB

Please note that the SMB includes the following as well:

  • SQL Profiles
  • SQL Patches
  • SQL Plan Directives

How to Exclude SQL Plan Baselines

If you migrate SQL plan baselines in advance, you should exclude them from the production migration. As described above, the SQL plan baselines are part of the SQL Management Base. You exclude it using:

expdp ... exclude=SMB

That will exclude the items below. Depending on how you move the SQL plan baselines and if you need the other items in the target database, you might need to move these items manually:

  • SQL Profiles You can move SQL Profiles using DBMS_SQLTUNE.
  • SQL Patches You can move SQL Patches using DBM_SQLDIAG.
  • SQL Plan Directives You can move SQL plan directives using DBMS_SPD. Only relevant if you use Adaptive Statistics.

Appendix

SQL Signature

The signature of an SQL is:

A numeric hash value computed using a SQL statement text that has been normalized for case insensitivity and white space. It uniquely identifies a SQL statement. The database uses this signature as a key to maintain SQL management objects such as SQL profiles, SQL plan baselines, and SQL patches.

Let me use an example. If you have the following SQL text:

select * from dual

The signature is:

14103420975540283355

There is a function that calculates the signature from the SQL text:

col signature format 99999999999999999999999
select dbms_sqltune.sqltext_to_signature ('select * from dual') as signature from dual;

Acknowledgment

Thanks to Nigel Bayliss, optimizer product manager, for valuable assistance.

Sign up for Our Sessions at Oracle DatabaseWorld at CloudWorld

The content catalog for this year’s Oracle DatabaseWorld at CloudWorld is now ready. Overall there are more than 1.000 sessions, and almost 300 of those are strictly database related.

You can now start to add sessions to your schedule. I suggest that you hurry up and get started. Some of the sessions will for sure sell out quickly, especially the hands-on labs.

Sign up before it’s too late!

I have created an overview of all the sessions hosted by Database Upgrade, Migration and Patching. If you enjoy sessions by Mike Dietrich, Rodrigo Jorge, Roy Swonger or Bill Beauregard, add all of them to your schedule.

My Sessions

Best Practices for Upgrade and Migration to Oracle Database 23c

Usually, our most popular talk. What are the best practices for upgrading your Oracle Database and which of those best practices apply to database migrations as well? In Oracle Database 23c, you must migrate to the multitenant architecture; we will also discuss this. Presenting with us is Marco Oberli from Postfinance in Switzerland. They made some cool automation to upgrade their databases and allow users to provision copies for test and developer with the click of a button.

Link

No-Slide Zone – Database Patchings Insights

No slides at all – it’s an open discussion about patching Oracle Database and Grid Infrastructure. Bring all your questions, and together we will work it out. This is definitely my personal favorite. I always learn so much from all these great questions and discussions. Plus, it’s usually a lot of fun.

Link

Help! My Database Is Still on 8i!

We are often involved in migrations of really old databases. Not just 11g or 10g. Even older! Recently we had a question about Oracle7. We have demos to show how to migrate from those old databases. Also, we spin up an Oracle 8i database. Do you remember how to connect? How to take a backup? Finally, we dig into our archives and find a few horror stories. On stage is also Julian Dontcheff from Accenture. He also has some horror stories to share.

Link

Upgrade and Migrate to Oracle Database 19c and 23c the Easy Way

Our all-time favorite hands-on lab got an overhaul for this year’s event. If you are afraid of plan changes after an upgrade, come to this session. You will learn how to avoid that and keep your users happy. Also, we will guide you to upgrade and migrate your databases.

Remember to bring your laptop

Link

See You There

I really hope to see you at Oracle DatabaseWorld at CloudWorld. Remember to come by our demo booth and have a talk about Oracle Database.

We have so many exciting things to share. It’s a shame to miss out on the greatest Oracle Database event of the year.

How to Clone Oracle Grid Infrastructure Home Using Golden Images

Cloning Oracle Grid Infrastructure (GI) homes is a convenient way of getting a new GI Home. It’s particularly helpful when you need to patch out-of-place using the SwitchGridHome method.

When you have created a new GI home and applied all the necessary patches, you can turn it into a golden image. Later on, you can deploy from that golden image and avoid updating OPatch and apply patches.

How to Create a Golden Image

  1. First, only create a golden image from a freshly installed Oracle Home. Never use an Oracle Home that is already in use. As soon as you start to use an Oracle Home you taint it with various files and you don’t want to carry those files around in your golden image. The golden image must be completely clean.

  2. Then, you create a directory where you can store the golden image:

    export GOLDIMAGEDIR=/u01/app/grid/goldimages
    mkdir -p $GOLDIMAGEDIR
    
  3. Finally, you create the golden image. This command creates a golden image of the specified GI home:

    export NEW_GRID_HOME=/u01/app/19.20.0/grid
    $NEW_GRID_HOME/gridSetup.sh -createGoldImage \
       -destinationLocation $GOLDIMAGEDIR \
       -silent
    

    Be sure to do this before you start to use the new GI home.

  4. The installer creates the golden image as a zip file in the specified directory. The name of the zip file is unique and printed on the console. You can also use the secret parameter -name to specify a name for the zip file. To name the zip file gi_19_20_0.zip:

    $NEW_GRID_HOME/gridSetup.sh -createGoldImage \
       ... \
       -name gi_19_20_0.zip
    

No software must run out of the Oracle Home, when you create the gold image. Don’t use a production Oracle Home. I recommend using a test or staging server instead.

Check the documentation for further details.

How to Deploy from a Golden Image

  1. You must create a folder for the new GI home. You do it as root:

    export NEW_GRID_BASE=/u01/app/19.20.0
    export NEW_GRID_HOME=$NEW_GRID_BASE/grid
    mkdir -p $NEW_GRID_HOME
    chown -R grid:oinstall $NEW_GRID_BASE
    chmod -R 775 $NEW_GRID_BASE
    

    If you install the new GI home in a cluster, you must create the folder on all nodes.

  2. Then, you extract the golden image as grid:

    export NEW_GRID_HOME=/u01/app/19.20.0/grid
    cd $NEW_GRID_HOME
    unzip -q /u01/app/grid/goldimages/gi_19_20_0.zip
    
  3. Finally, you use gridSetup.sh to perform the installation:

    ./gridSetup.sh 
    

That’s it!

I recommend using golden images when you patch out-of-place using the SwitchGridHome method.

Appendix

Oracle Restart vs. Oracle RAC

If you create a GI home for use with Oracle RAC, you can’t use that gold image for a new GI home for Oracle Restart.

Such two GI homes would be very different. You must have two gold images. One for RAC and one for Restart.

Further Reading

Other Blog Posts in This Series

How to Remove an Old Oracle Grid Infrastructure 19c Home

When you patch your Oracle Grid Infrastructure 19c (GI) using the out-of-place method, you should also remove the old GI homes.

I recommend that you keep the old GI home for a while. At least until you are convinced that a rollback is not needed. Once you are comfortable with the new GI home, you can safely get rid of it.

How to Remove an Oracle Grid Infrastructure 19c Home

  1. I set the path to my old GI home as an environment variable:
    export REMOVE_ORACLE_HOME=/u01/app/19.0.0.0/grid
    
  2. Optionally, I take a backup of the GI home for safekeeping:
    export GOLDIMAGEDIR=/u01/app/grid/goldimages
    mkdir -p $GOLDIMAGEDIR
    $REMOVE_ORACLE_HOME/gridSetup.sh -createGoldImage \
       -destinationLocation $GOLDIMAGEDIR \
       -silent
    
  3. I verify that the GI home, is not the active one. This command returns the active GI home. It must not return the path of the GI home, which I want to delete. As grid:
    $REMOVE_ORACLE_HOME/srvm/admin/getcrshome
    
  4. I double-check that the GI home to remove is not the active one. The XML tag returned must not contain an CRS=“true” attribute. As grid:
    export ORA_INVENTORY_XML=/u01/app/oraInventory/ContentsXML/inventory.xml
    grep "$REMOVE_ORACLE_HOME" $ORA_INVENTORY_XML
    
    #This is good
    #   <HOME NAME="OraGrid190" LOC="/u01/app/19.0.0.0/grid" TYPE="O" IDX="1"/>
    #This is bad
    #.  <HOME NAME="OraGrid190" LOC="/u01/app/19.0.0.0/grid" TYPE="O" IDX="1" CRS="true"/>      
    
  5. I run the deinstall tool. I switch to my home directory to ensure I am not interfering with the de-installation. As grid:
    cd ~
    $REMOVE_ORACLE_HOME/deinstall/deinstall
    
    The script:
    • Detects the nodes in my cluster.
    • Prints a summary and prompts for confirmation.
    • Deinstalls the GI home on all nodes.
    • Instructs me to run a script as root on all nodes.
    • Prints a summary including any manual tasks in the end.
  6. I verify that the GI home is marked as deleted in the inventory. The XML tag should have a Removed=“T” attribute. As grid:
    export ORA_INVENTORY_XML=/u01/app/oraInventory/ContentsXML/inventory.xml
    grep "$REMOVE_ORACLE_HOME" $ORA_INVENTORY_XML
    
    #This is good
    #   <HOME NAME="OraGrid190" LOC="/u01/app/19.0.0.0/grid" TYPE="O" IDX="1" Removed="T"/>
    
  7. Often the deinstall tool can’t remove some files because of missing permissions. I remove the GI home manually. As root on all nodes:
    export REMOVE_ORACLE_HOME=/u01/app/19.0.0.0/grid
    rm -rf $REMOVE_ORACLE_HOME
    

Silent Mode

There is also a silent mode if you want to script the removal. Check the -checkonly and -silent parameters in the documentation.

You can also find a sample response file in the documentation.

Appendix

Further Reading

Other Blog Posts in This Series

How to Roll Back Oracle Grid Infrastructure 19c Using SwitchGridHome

Let me show you how I roll back a patch from Oracle Grid Infrastructure 19c (GI) using the out-of-place method and the -switchGridHome parameter.

My demo system:

  • Is a 2-node RAC (nodes copenhagen1 and copenhagen2).
  • Runs Oracle Linux.
  • Was patched from 19.17.0 to 19.19.0. I patched both GI and database. Now I want GI back on 19.17.0.

I only roll back the GI home. See the appendix for a few thoughts on rolling back the database as well.

This method works if you applied the patch out-of-place – regardless of whether you used the OPatchAuto or SwitchGridHome method.

Preparation

  • I use the term old Oracle Home for the original, lower patch level Oracle Home.

    • It is my 19.17.0 Oracle Home
    • It is stored in /u01/app/19.0.0.0/grid
    • I refer to this home using the environment variable OLD_ORACLE_HOME
    • This is the Oracle Home that I want to roll back to
  • I use the term new Oracle Home for the higher patch level Oracle Home.

    • It is my 19.19.0 Oracle Home
    • It is stored in /u01/app/19.19.0/grid
    • I refer to this home using the environment variable NEW_ORACLE_HOME
    • This is the Oracle Home that I want to roll back from

Both GI homes are present in the system already.

How to Roll Back Oracle Grid Infrastructure 19c

1. Sanity Checks

I execute the following checks on both nodes, copenhagen1 and copenhagen2. I show the commands for one node only.

  • I verify that the active GI home is the new GI home:

    [grid@copenhagen1]$ export ORACLE_HOME=$NEW_GRID_HOME
    [grid@copenhagen1]$ $ORACLE_HOME/srvm/admin/getcrshome
    
  • I verify that the cluster upgrade state is NORMAL:

    [grid@copenhagen1]$ $ORACLE_HOME/bin/crsctl query crs activeversion -f
    
  • I verify all CRS services are online:

    [grid@copenhagen1]$ $ORACLE_HOME/bin/crsctl check cluster
    
  • I verify that the cluster patch level is 19.19.0 – the new patch level:

    [grid@copenhagen1]$ $ORACLE_HOME/bin/crsctl query crs releasepatch
    

2. Cluster Verification Utility

  • I use Cluster Verification Utility (CVU) to verify that my cluster meets all prerequisites for a patch/rollback. I do this on one node only:
    [grid@copenhagen1]$ $CVU_HOME/bin/cluvfy stage -pre patch
    
    • You can find CVU in the GI home, but I recommend always getting the latest version from My Oracle Support.

3. Roll Back Node 1

The GI stack (including database, listener, etc.) needs to restart on each instance. But I do the rollback in a rolling manner, so the database stays up all the time.

  • I drain connections from the first node, copenhagen1.

  • I unlock the old GI home, root:

    [root@copenhagen1]$ export OLD_GRID_HOME=/u01/app/19.0.0.0/grid
    [root@copenhagen1]$ cd $OLD_GRID_HOME/crs/install
    [root@copenhagen1]$ ./rootcrs.sh -unlock -crshome $OLD_GRID_HOME
    
    • This is required because the next step (gridSetup.sh) runs as grid and must have access to the GI home.
    • Later on, when I run root.sh, the script will lock the GI home.
  • I switch to old GI home as grid:

    [grid@copenhagen1]$ export OLD_GRID_HOME=/u01/app/19.0.0.0/grid
    [grid@copenhagen1]$ export ORACLE_HOME=$OLD_GRID_HOME
    [grid@copenhagen1]$ export CURRENT_NODE=$(hostname)
    [grid@copenhagen1]$ $ORACLE_HOME/gridSetup.sh \
       -silent -switchGridHome \
       oracle.install.option=CRS_SWONLY \
       ORACLE_HOME=$ORACLE_HOME \
       oracle.install.crs.config.clusterNodes=$CURRENT_NODE \
       oracle.install.crs.rootconfig.executeRootScript=false
    
  • I complete the switch by running root.sh as root:

    [root@copenhagen1]$ export OLD_GRID_HOME=/u01/app/19.0.0.0/grid
    [root@copenhagen1]$ $OLD_GRID_HOME/root.sh
    
    • This step restarts the entire GI stack, including resources it manages (databases, listener, etc.). This means downtime on this node only. The remaining nodes stay up.
    • In that period, GI marks the services as OFFLINE so users can connect to other nodes.
    • If my database listener runs out of the Grid Home, GI will move it to the new Grid Home, including copying listener.ora.
    • In the end, GI restarts the resources (databases and the like).
  • I update any profiles (e.g., .bashrc) and other scripts referring to the GI home.

  • I verify that the active GI home is the new GI home:

    [grid@copenhagen1]$ $OLD_ORACLE_HOME/srvm/admin/getcrshome
    
  • I verify that the cluster upgrade state is ROLLING PATCH:

    [grid@copenhagen1]$ $OLD_ORACLE_HOME/bin/crsctl query crs activeversion -f
    
  • I verify all CRS services are online:

    [grid@copenhagen1]$ $OLD_ORACLE_HOME/bin/crsctl check cluster
    
  • I verify all resources are online:

    [grid@copenhagen1]$ $OLD_ORACLE_HOME/bin/crsctl stat resource -t 
    
  • I verify that the GI patch level is 19.17.0 – the old patch level:

    [grid@copenhagen1]$ $OLD_ORACLE_HOME/bin/crsctl query crs releasepatch
    

4. Roll Back Node 2

  • I roll back the second node, copenhagen2, using the same process as the first node, copenhagen1.
    • I double-check that the CURRENT_NODE environment variable gets updated to copenhagen2.
    • When I use crsctl query crs activeversion -f to check the cluster upgrade state, it will now be back in NORMAL mode, because copenhagen2 is the last node in the cluster.

5. Cluster Verification Utility

  • I use Cluster Verification Utility (CVU) again. Now I perform a post-rollback check. I do this on one node only:
    [grid@copenhagen1]$ $CVU_HOME/bin/cluvfy stage -post patch
    

That’s it!

My cluster is now operating at the previous patch level.

Appendix

SwitchGridHome Does Not Have Dedicated Rollback Functionality

OPatchAuto has dedicated rollback functionality that will revert the previous patch operation. Similar functionality does not exist when you use the SwitchGridHome method.

This is described in Steps for Minimal Downtime Grid Infrastructure Out of Place ( OOP ) Patching using gridSetup.sh (Doc ID 2662762.1). To rollback, simply switch back to the previous GI home using the same method as for the patch.

There is no real rollback option as this is a switch from OLD_HOME to NEW_HOME To return to the old version you need to recreate another new home and switch to that.

Should I Roll Back the Database as Well?

This post describes rolling back the GI home only. Usually, I recommend keeping the database and GI patch level in sync. If I roll back GI, should I also roll back the database?

The short answer is no!

Keeping the GI and database patch in sync is a good idea. But when you need to roll back, you are in a contingency. Only roll back the component that gives you problems. Then, you will be out of sync for a period of time until you can get a one-off patch or move to the next Release Update. Being in this state for a shorter period is perfectly fine – and supported.

Other Blog Posts in This Series

Files to Move During Oracle Grid Infrastructure Out-Of-Place Patching

Like with Oracle Database, I strongly recommend patching Oracle Grid Infrastructure using the out-of-place method. It has many advantages over in-place patching

A while ago, I wrote about the files you must move during Oracle Database out-of-place patching. There are quite many files to consider. A blog reader left a comment asking about a similar blog post for Oracle Grid Infrastructure, so here it is.

Listener

The listener runs out of the GI home. When you patch out-of-place, the listener must also start in the new GI home.

If you patch using any of the below methods, it will move the listener for you:

The two methods also move listener.ora as part of the process.

If you use opatchauto you should note that the tool moves listener.ora when preparing the new GI using opatchauto apply ... -prepare-clone. You can run that command hours or days before you move the listener. If you add things to listener.ora in between, you must also add it to listener.ora in the new GI home.

Conclusion

There is really nothing to worry about when you patch Oracle Grid Infrastructure out-of-place. The above-mentioned two tools will take care of it for you.

Happy Patching

A Rare Insight Into the Oracle Database Development Process

Have you ever wondered why Oracle didn’t include your bug fix in the next Release Update? Or what good is it that your bug is fixed in 23.1 when Oracle Database isn’t released yet?

We’ll explain this – and much more in our next webinar.

  • Episode 17: From SR to Patch June 22, 2023, 16:00 CEST

Oracle Database 19c Upgrade Virtual Classroom

Mike and I will show you what happens behind the scenes, from opening a service request to the final delivery of a fix. This is your rare chance to get insights into the Oracle Database development process from insiders. And even if you are a long-time Oracle expert, you will still learn something new.

You can sign up here.

But I Can’t Make It

Don’t worry. As usual, we will publish the recording on our YouTube channel and share the slides with you. Keep an eye out on my Webinars page. On the same page, you can also watch all previous webinars and get the slides.

But it’s better to watch it live. You can ask questions to us live. I promise you; we won’t leave until we have answered all your questions.

All Tech, No Marketing

Remember, our mantra is: All tech, no marketing.

I hope to see you there!

How to Apply Patches Out-of-place to Oracle Grid Infrastructure and Oracle Data Guard Using Standby-First

I strongly recommend that you always patch out-of-place. Here’s an example of how to do it on Oracle Grid Infrastructure (GI) and Oracle Data Guard using Standby-First Patch Apply.

Standby-First Patch Apply allows you to minimize downtime to the time it takes to perform a Data Guard switchover. Further, it allows you to test the apply mechanism on the standby database by temporarily converting it into a snapshot standby database.

The scenario:

  • Oracle Grid Infrastructure 19c and Oracle Database 19c
  • Patching from Release Update 19.17.0 to 19.19.0
  • Vertical patching – GI and database at the same time
  • Data Guard setup with two RAC databases
    • Cluster 1: copenhagen1 and copenhagen2
    • Cluster 2: aarhus1 and aarhus2
    • DB_NAME: CDB1
    • DB_UNIQUE_NAME: CDB1_COPENHAGEN and CDB1_AARHUS
  • Using Data Guard broker
  • Patching GI using SwitchGridHome method

Let’s get started!

Step 1: Prepare

I can make the preparations without interrupting the database.

  • I ensure my environment meets the requirements for Standby-First Patch Apply.

  • I deploy new GI homes to all four hosts.

    • I use the SwitchGridHome method.
    • Very important: I only perform step 1 (Prepare a New Grid Home).
    • I apply the Release Update 19.19.0 as part of the deployment using gridSetup.sh ... -applyRU ... -applyOneOffs as described in the blog post.
  • I deploy new database homes to all four hosts.

  • I also recompile invalid objects. This can make it easier for Datapatch later in the process:

    PRIMARY SQL> @?/rdbms/admin/utlrp
    

Step 2: Restart Standby in New Oracle Homes

Now, I can move the standby database to the new GI and database homes.

  • On the standby hosts, aarhus1 and aarhus2, I first move the database configuration files from the old database home to the new one.

  • I change the database configuration in GI. Next time the database restarts, it will be in the new Oracle Home:

    [oracle@aarhus1]$ $OLD_ORACLE_HOME/bin/srvctl modify database \
       -db $ORACLE_UNQNAME \
       -oraclehome $NEW_ORACLE_HOME
    
  • I switch to the new GI on all standby hosts, aarhus1 and aarhus2, by executing step 2 (Switch to the new Grid Home) of the SwitchGridHome method.

    • It involves running gridSetup.sh ... -switchGridHome and root.sh.
    • You can perform the switch in a rolling manner or all at once.
    • The switch restarts the standby database instance. The standby database instance restarts in the new Oracle Home.
    • If the profile of grid (like .bashrc) sets the ORACLE_HOME environment variable, I ensure to update it.
  • If I had multiple standby databases, I would process all standby databases in this step.

Step 3: Test Standby Database

This is an optional step, but I recommend that you do it.

  • I convert the standby database (CDB1_AARHUS) to a snapshot standby database:
    DGMGRL> convert database CDB1_AARHUS to snapshot standby;
    
  • I test Datapatch on the standby database. It is important that I run the command on the standby database:
    [oracle@aarhus1]$ $ORACLE_HOME/OPatch/datapatch -verbose
    
  • I can also test my application on the standby database.
  • At the end of my testing, I revert the standby database to a physical standby database. The database automatically reverts all the changes made during testing:
    DGMGRL> convert database CDB1_AARHUS to physical standby;
    

Step 4: Switchover

I can perform the previous steps without interrupting my users. This step requires a maintenance window because I am doing a Data Guard switchover.

  • I check that my standby database is ready to become primary. Then, I start a Data Guard switchover:
    DGMGRL> connect sys/<password> as sysdba
    DGMGRL> validate database CDB1_AARHUS;
    DGMGRL> switchover to CDB1_AARHUS;
    

A switchover does not have to mean downtime.

If my application is configured properly, the users will experience a brownout; a short hang, while the connections switch to the new primary database.

Step 5: Restart New Standby in New Oracle Homes

Now, the primary database runs on aarhus1 and aarhus2. Next, I can move the new standby hosts, copenhagen1 and copenhagen2, to the new GI and database homes.

  • I repeat step 2 (Restart Standby In New Oracle Homes) but this time for the new standby hosts, copenhagen1 and copenhagen2.

Step 6: Complete Patching

Now, both databases in my Data Guard configuration run out of the new Oracle Homes.

Only proceed with this step once all databases run out of the new Oracle Home.

I need to run this step as fast as possible after I have completed the previous step.

  • I complete the patching by running Datapatch on the primary database (CDB1_AARHUS). I add the recomp_threshold parameter to ensure Datapatch recompiles all objects that the patching invalidated:

    [orale@aarhus1]$ $ORACLE_HOME/OPatch/datapatch \
       -verbose \
       -recomp_threshold 10000
    
    • I only need to run Datapatch one time. On the primary database and only on one of the instances.
  • I can run Datapatch while users are connected to my database.

  • Optionally, I can switch back to the original primary database on copenhagen1 and copenhagen2, if I prefer to run it there.

That’s it. Happy patching!

Appendix

Further Reading

Other Blog Posts in This Series